How to Connect Your Home Theater to Your PC: 10 Steps
Table of Content
For those looking to get started with their home theater system, knowing how to arrange the different components you’re working with is important. You need to connect your TV to your home theater receiver so that audio signals that have to pass through the TV, like those from streamed content or over-the-air broadcasted content. This ensures that the sound can be played through your audio system, which will produce significantly better sound than your TV’s speakers. Optical cables, AKA SPDIF, sound good, but may introduce audio delay to your picture, especially in older systems. There is usually an option to delay audio to sync to video output if this is the case. A High-Definition Multimedia Interface cable will allow you to transfer uncompressed video data from the devices connected to your home theater receiver to your TV.
LED displays are very bright and are available in a wide range of prices. A display is the focal point of any home theater system. The display is the device that makes up your home theater. There are several types of displays from which you can choose, including TVs and projectors.
TV Buying Guide
In our mind what does the actual home theater system looks likeSome of the more elaborate speaker systems may also require specific attention when connecting to the A/V receiver. The polarity must be correct, channels must be properly programmed, and speakers need to be properly positioned. Buying something simple such as a stereo Bluetooth soundbar can help cut down on the complication and keep things easy without sacrificing sound.
Too many people purchase great home theater equipment, and take the time to plug it in properly, only to forget a couple settings that can make or break their entire experience. Spending some time testing your system can make the difference between a good system and a greatsystem. Below is a list of common devices and what settings you should make sure to check on each one. Receiver – You can plug your sources (Wii, Blu-ray, Satellite/Cable set-top box) into the HDMI and Component inputs on the receiver. On the back of the receiver the input will typically be labeled, just remember which input everything is plugged into. Most new receivers over $500 will convert component or composite video to HDMI.
Bring Your Dream Home Movie Room to Reality with the AIS Team
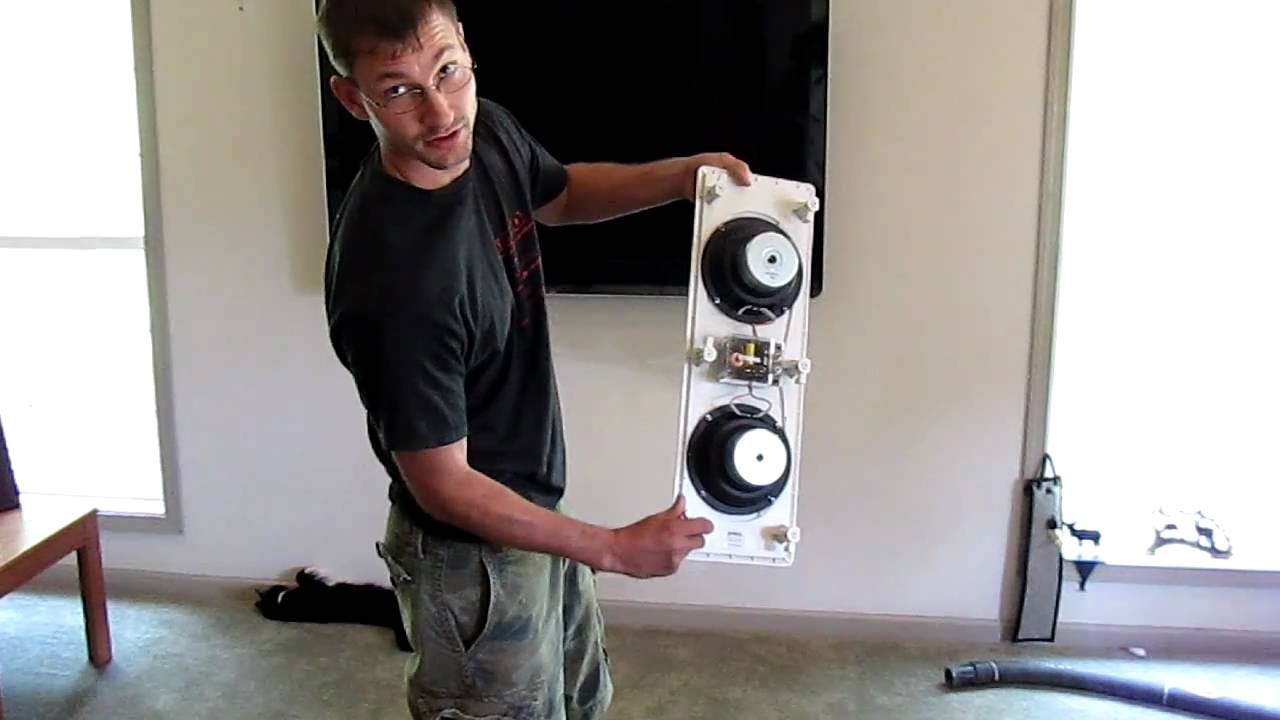
This wire makes the connection, not the sheath, so you must remove the wax to get your speakers working. Each of your speakers' wires should be able to reach the TV without changing the location or angle of the speakers themselves.If this doesn't work, you may need to buy longer cables for your speakers. If you plan on mounting your TV, hold off on doing so until you've purchased and set up the speakers and other components. You generally need feet between the projector and the wall to get the best results.

Eventually, Cliff ended up doing custom installation work for Best Buy and then for a "Ma & Pa" shop in Mankato, MN. TV – Only one HDMI cable goes to the TV, from the "monitor out" on the receiver (see Editor's Note below for the exception to this rule). One mistake a lot of people make here is purchasing an HDMI cable that is too short. I would recommend a 6' or 8' HDMI cable when hooking up any TV over 46", assuming your gear is located just below. The common lengths of 2' to 4' are best suited for connecting your source equipment to the receiver.
Peerless-AV PRGS-UNV Projector Mount
Building home theater rooms has been my hobby for a long time. Over the years, I have learned a lot about AV equipment and room acoustics. However, it’s not the most aesthetically pleasing addition to a room, although it is quite easy to disguise. I found that while I was using plastic trunking it wasn’t my favorite thing, but you just tend to ignore it after a while.
We asked six hard of hearing people to give them a try. ’s best-in-class contrast ratio, bright output, and impressive color accuracy make it our pick for the best budget home theater projector. We’ve spent hundreds of hours researching and testing TVs to find the best choices for any budget and room size. Is the all-around best soundbar because of its big, immersive sound, small footprint, affordable cost, and easy operation.
Choosing and Installing the Speakers
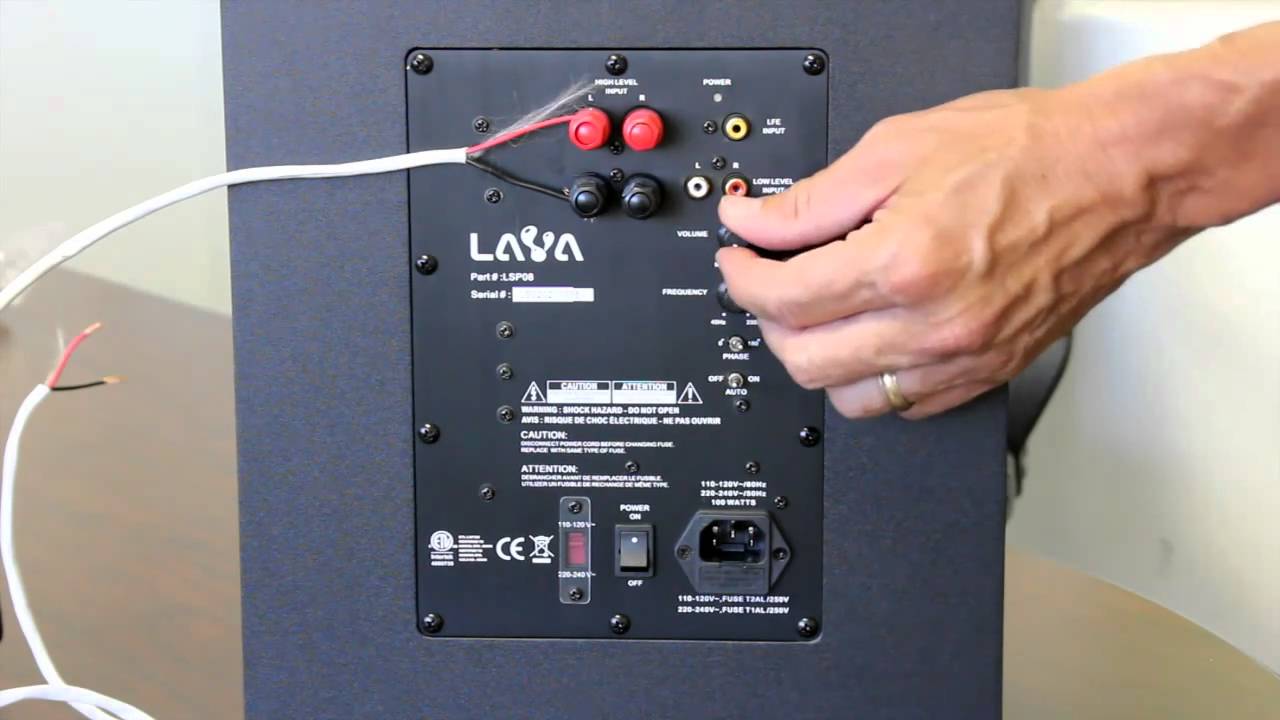
My experience is most people use the AVR as the source selector rather than the TV. If you notice that your subwoofer level is turned down as far as possible, you should turn down the volume knob on the back of the subwoofer a little bit, and run the setup mic again. Satellite/Cable Set-top Box – One HDMI cable goes from the Satellite/Cable Set-top receiver to an HDMI input on the receiver. First, we need to look atthe types of connections you will encounter.
The automated lens makes it easy to set up, and the projector gives you an accurate image out of the box. In our tests, this projector came closest to replicating the viewing experience of our reference OLED TV on a projection screen, but it is the largest, heaviest projector we tested. Although the DLA-NX5’s peak brightness might be similar to that of the other models we looked at, its ability to display darker blacks made the image look that much better in our tests. Bright highlights popped against black backgrounds. With the constant improvements being made to the picture quality of TVs, from HD to Ultra-HD and now 4K and beyond, watching a movie or TV show at home has become a lot more like a cinema experience.
The Signature line includes a variety of options, but we recommend the S15 for the front left and right channels, the S10 as surround speakers, and the S35 center speaker. These speakers were just as good as everything else in their price range—and we found that they sounded better than many more-expensive systems we tested. In our tests, the S15/S10/S35 combination delivered a robust, full sound with both stereo and surround sources. The Signature Series’s design is far more stylish than we expect to see in such an affordable speaker line.

If you want to manually double check everything, however, you can do so with an SPL meter. An SPL meter is used to measure how loud a sound is and can be purchased from radio shack for about $50. You simply point the SPL meter up at the ceiling, ear height, at the primary listening position and set it to "C-weighted" and "slow response". If all of your equipment supports HDMI, connection should be a breeze. In some cases your equipment won't have an HDMI output.
Almost all of these recommendations are available in our home theater, TV, and projector categories, but we understand that it’s not totally clear how everything fits together. This buying guide compiles everything you need in one place. You’d be surprised at how little it can cost to upgrade your at-home movie-watching setup from functional to enjoyable.
The redesigned Chromecast player offers an intuitive interface, intelligent search, a useful remote, and support for 4K HDR video . The Panasonic DP-UB420 provides the best image quality with 4K Ultra HD discs, thanks to custom tone mapping that optimizes HDR video for your display. It can extend a TV up to 28 inches off the wall—farther than most—which also gives it a wide range of side-to-side pivot. To stabilize the weight of the TV, the arms are large, but when pressed back against the wall, the mount has a thin profile of just over 2 inches. The mount’s smooth extension and pivoting motion give it a high-quality feel, and the adjustments, from the tilt lock to the screen leveling, are easy to use. This Sanus mount is large, but because TV mounts need to be screwed directly into wall studs, the VLF728’s 32-inch-wide mounting bars allow for greater flexibility with placement.
It's easy to get carried away while buying equipment only to realize that your TV and/or speakers are too big for your living room! Consider buying an all-in-one home theater package. Several companies make packages which include speakers and a receiver, making it easy to match a TV screen to the whole package.


Comments
Post a Comment